Chevrolet 2011 Equinox Bedienungsanleitung
Stöbern Sie online oder laden Sie Bedienungsanleitung nach Autonavigationssysteme Chevrolet 2011 Equinox herunter. installation instructions for part 99-3307g Benutzerhandbuch
- Seite / 12
- Inhaltsverzeichnis
- LESEZEICHEN
- 99-3307G 1
- TABLE OF CONTENTS 2
- DASH PREPARATION 5
- KIT PREPARATION 5
- ISO DIN HEAD UNIT PROVISION 6
- DDIN HEAD UNIT PROVISION 7
- INTERFACE COMPONENTS 8
- INSTALLING THE INTERFACE 9
- 1. From the 16 way harness: 9
- 2. From the 44 way harness: 10
- 3. From the 18 way harness: 10
- Chime Volume Adjustment 10
- Onstar Level Adjustment 10
- 12 Pin Harness 11
- Installing the Interface 11
- Testing the Interface 11
- REV. 2/15/11 12
Inhaltsverzeichnis
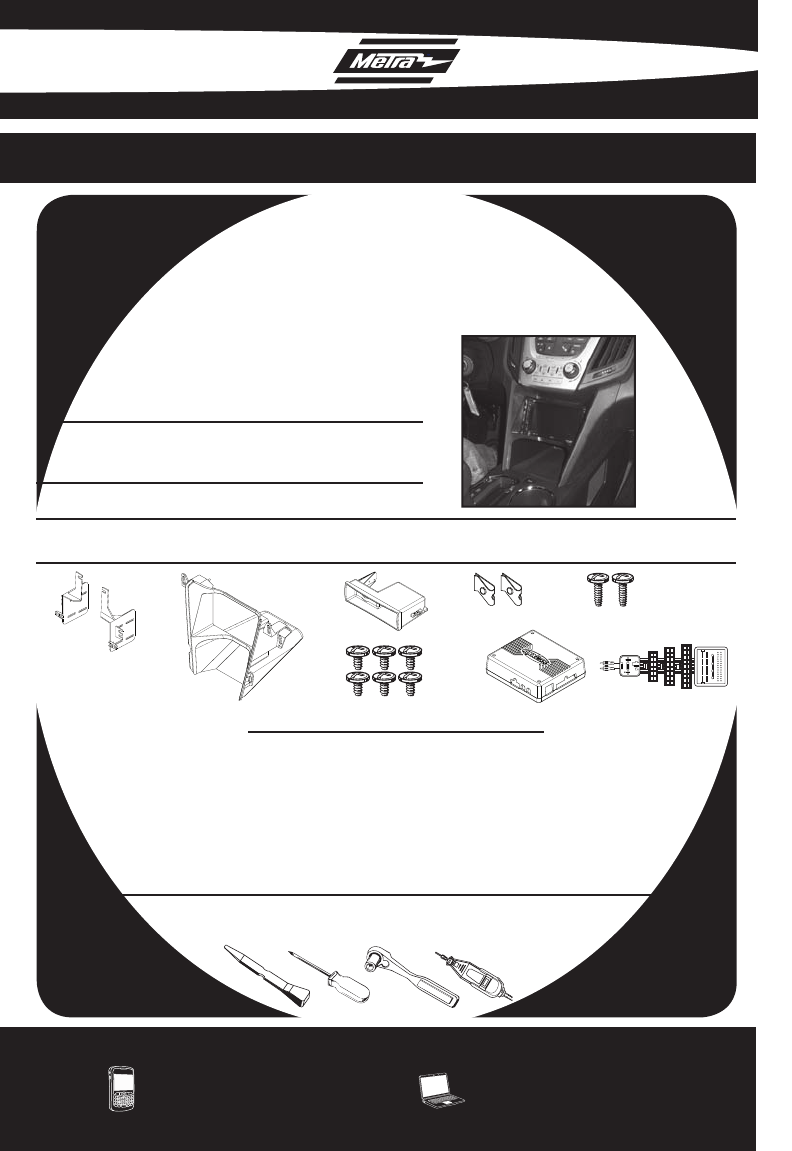
APPLICATIONSKIT FEATURESKIT COMPONENTSTOOLS REQUIREDMETRA. THE WORLD’S BEST KITS.™1-800-221-0932 metraonline.com© COPYRIGHT 2004-2011 METRA ELECTRON
The following wires on the 16 pin harness are for the aftermarket radios that have navigation built in:• Connect the Light Green wire to the parking
harness. Push the blue Onstar button, while the voice is speaking tap the Black/Yellow wire to ground. There are 4 volume settings for Onstar; once th
REV. 2/15/11METRA. THE WORLD’S BEST KITS.™© COPYRIGHT 2004-2011 METRA ELECTRONICS CORPORATION 1-800-221-0932 metraonline.comINSTALLATION INSTRUCTION
TABLE OF CONTENTSDASH DISASSEMBLY• 2010-UP CHEVY EQUINOX / GMC TERRAIN . . . . 1-2PREPARATION• 2010-UP CHEVY EQUINOX / GMC TERRAIN . . . . . . 3KIT AS
99-3307G DASH DISASSEMBLYWith pocket above factory radio controls - Remove (2) 9/32” screws from inside the pocket, then unclip and remove the pocket.
2DEERemove (4) 9/32” screws to remove the pocket/CD slot panel. Remove the power outlet and attach it to the included pocket if installing single DIN
399-3307G PREPARATIONContinue to Kit Assembly ...DASH PREPARATIONKIT PREPARATIONA small section of the dash must be cut to allow the kit and
499-3307G KIT ASSEMBLYISO DIN HEAD UNIT PROVISIONMount the brackets to aftermarket radio with the screws supplied with the unit. (Fig. A)Mount the po
5DDIN HEAD UNIT PROVISIONAttach the Double DIN brackets to the Double DIN radio using the screws supplied with the radio. (Fig. A)Skip to page 6 for
*Important: Before beginning any of the following, disconnect the negative battery terminal to prevent an accidental short circuit.The included interf
INSTALLING THE INTERFACE*Important: Before beginning any of the following, disconnect the negative battery terminal to prevent an accidental short cir
Weitere Dokumente für Autonavigationssysteme Chevrolet 2011 Equinox


Verwandte Produkte und Handbücher für Autonavigationssysteme Chevrolet 2011 Equinox
 (90 Seiten)
© 2020, manymanuals.de. Alle Rechte vorbehalten. | 0.596 s |
 Manymanuals.com
 Manymanuals.de
 Manymanuals.fr
 Manymanuals.it
 Manymanuals.pl
 Manymanuals.cz
 Manymanuals.es
 Manymanuals-pt.com
Kommentare zu diesen Handbüchern